


Public Permits for High Visibility Productions: A Step by Step Clearance Guide

A public production can survive bad weather, late gear, or a missing prop. It may not survive one complaint from a resident, police officer, council worker, transport official, or venue manager who asks a simple question: “Do you have permission to be here?”
That is the real risk behind high-visibility production. The danger is not only legal. It is operational. A project can lose a location, burn daylight, frustrate cast and crew, waste hire costs, and damage public trust in a single afternoon.
If municipal regulations are treated as an optional inconvenience rather than a structural requirement, the production is one angry phone call away from total shutdown.
The Public Regulatory Clearance Process treats permission as part of the build. For film crews, photographers, student productions, live activations, public art teams, documentary makers, and media operators, the permit is not a late admin task. It is a planning system for working in public without creating unnecessary friction.
This guide is informational only and is not legal advice. Local rules vary, so always check with the relevant authority before operating.

Why public clearance is an engineering phase
Guerrilla production has a strong mythology. It looks fast, lean, and fearless. A camera appears on a street corner, a few shots are captured, and the team disappears before anyone notices.
That may work for a phone clip or a tiny private exercise. It becomes fragile the moment production becomes visible.
High-visibility work changes the risk profile. Public attention increases when a production includes:
Tripods, lighting stands, drones, dollies, generators, or sound gear
Actors performing unusual behaviour in public
Costume, replica props, smoke, vehicles, animals, or large crowds
Filming near transport, government buildings, schools, businesses, or residential areas
Street closures, pedestrian management, or noise
Repeated takes in the same public place
At that point, permission is not bureaucracy for its own sake. It is the framework that tells everyone who is responsible, what will happen, when it will happen, and how disruption will be controlled.
A public permit can also create a common reference point. If a police officer, steward, resident, or council officer raises a concern, the production team can show that the work has been assessed and approved. That does not remove every problem, but it changes the conversation from “Who said you could do this?” to “Let’s check what was agreed.”
Step 1. Define the operational footprint
Before contacting any authority, define what the production will actually do in public. Vague requests create delays. Clear requests give officials something they can assess.
Start with the physical footprint. Mark where the camera will sit, where the crew will stand, where the public will pass, and where vehicles or equipment will be placed. If the work moves, map the route and timing.
Then describe the activity in plain language. Do not hide the disruptive parts. If a scene includes shouting, running, staged conflict, unusual costume, artificial rain, bright lights, or repeated takes, state it early.
A useful clearance brief should include:
Date and back-up date
Start time, wrap time, and any set-up or pack-down time
Exact location or route
Crew size and cast numbers
Equipment list
Vehicle requirements
Sound, lighting, drone, or generator use
Public access impact
Safety controls
Named contact on site
This is where many student and early-stage productions fail. They ask for “permission to film” rather than permission to carry out a specific operation in a specific public environment.
Aidan’s university filmmaking perspective is useful here. Student crews often think creatively first, then administratively later. That can work on a closed campus set. In a high-street, park, transport hub, or civic space, the order has to change. The creative plan must be translated into a public operating plan before anyone can approve it.
Step 2. Identify who controls the space
Public-looking space is not always publicly controlled. A square may be council-managed, privately owned, or part of a transport estate. A walkway may belong to a shopping centre. A park may involve a local authority, charity, trust, or events team. A road may require highways approval as well as film office clearance.
This is why the first authority you contact may not be the last.
Common control points include:
Space or activity | Likely clearance route |
Pavement filming with small crew | Local council, film office, or location office |
Road closure or traffic control | Highways authority and police liaison |
Public park filming | Parks department, events team, or land manager |
Transport stations or stops | Transport operator or infrastructure owner |
Drone work | Aviation rules, landowner permission, and local restrictions |
Staged emergency scene | Police, council, and sometimes ambulance or fire liaison |
Music playback or amplified sound | Council permission and possible noise conditions |
The goal is not to memorise every possible permission route. The goal is to trace control. Ask, “Who has legal or operational responsibility for this space?” Then ask, “Who else must be informed because the work affects their remit?”
That second question matters. A council may approve a shoot in principle, but the police may still need advance notice if the activity could alarm the public. A park manager may approve a location, but a highways team may control access for vehicles. A landowner may agree, but a drone operator still needs to comply with aviation rules.

Step 3. Contact the right office early
Timing protects options. Contacting an authority late does not make the process faster. It usually makes the request harder to approve because there is less time to review safety, public impact, insurance, staffing, and competing use of the area.
For low-impact filming, some councils or land managers may have simple notice systems. Larger productions can require longer lead times, detailed applications, traffic plans, risk assessments, insurance documents, resident letters, and site meetings.
When making first contact, keep the message short and complete. Officials do not need a dramatic pitch. They need enough information to route the request.
A strong first email or application summary might say:
Who is producing the work
What type of production it is
Where and when it will happen
How many people will attend
What equipment will be used
Whether public access will be affected
Whether any unusual action occurs
What permissions you believe may be needed
Who will be the named contact
Use plain descriptions. “Two actors walk briskly across the square while being filmed by a crew of six” is better than “dynamic chase sequence”. If the scene could look alarming to bystanders, describe the control measures. Signage, marshals, visible crew identification, and advance notice can reduce public concern.
The most useful mindset is formal coordination. The authority is not an enemy blocking the art. It is a governing body responsible for public use, safety, access, and nuisance. If the production shows that it understands those duties, the process becomes more practical.
Step 4. Build the permit pack
A permit application is not just a form. It is a small evidence file that proves the production has thought about its effect on the public space.
The exact contents vary, but a strong permit pack often includes:
Production summary
Location plan or marked map
Schedule and running order
Crew and cast numbers
Equipment list
Public liability insurance evidence
Risk assessment
Method statement
Traffic or pedestrian management plan
Drone documents, if relevant
Resident or business notification plan
Emergency contact details
Waste, noise, and clean-up plan
A risk assessment should not read like a copied template. It should address the real risks at the location. Wet paving, cables, crowd curiosity, night work, road edges, generator noise, and public interaction all need practical controls.
A method statement explains how the work will happen. It should cover arrival, set-up, filming, public management, incident response, and departure. This document is especially useful when multiple agencies need to understand the same plan.
Insurance also matters. Many authorities require evidence of public liability insurance before issuing permission. If vehicles, drones, stunts, water, animals, or pyrotechnics are involved, the requirements may change.
For student productions, university insurance and approval procedures may form part of the pack. Do not assume that a university project is automatically covered in any public setting. Check what the institution covers, what it excludes, and whether the local authority needs a specific certificate.
Step 5. Manage public observation friction
Public observation friction is the pressure created when ordinary people notice the production and react to it. They may stop to watch, ask questions, complain about access, worry about safety, film the crew, or call an authority.
This friction is predictable. That means it can be managed.
The first control is visibility of legitimacy. The on-site team should have the permit or permission letter available, either printed or easy to access. Crew members who engage with the public should know the agreed boundaries of the permit.
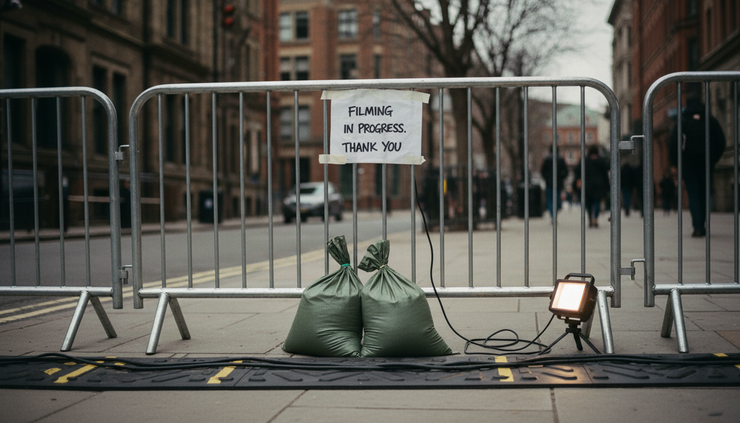
The second control is communication. Where suitable, use simple signs that explain filming is taking place and provide a contact point. For residential or business areas, advance letters can reduce surprise. The tone should be calm and clear, not defensive.
The third control is access. A production should not quietly block a pavement, doorway, ramp, crossing, cycle lane, or emergency route unless that closure has been approved and managed. If people feel trapped, delayed, or ignored, small tension becomes formal complaint.
The fourth control is behaviour. A polite location assistant can save a shoot. A dismissive crew member can end one. Public-facing crew should be briefed to answer basic questions, avoid arguments, and call the named production lead when needed.
The public does not see the application process. They see conduct. The permit gives authority, but on-site behaviour protects it.
Step 6. Create a shutdown prevention plan
A permit reduces risk, but it does not make a production untouchable. Conditions can change. A crowd may gather. A vehicle may park in the wrong place. A resident may complain. Weather may create a safety issue. Police may receive a call from someone who did not understand what they saw.
A good clearance process includes a shutdown prevention plan.
That plan should answer:
Who speaks to authorities on site?
Where is the permit stored?
What conditions must be followed?
What activity must stop if a complaint occurs?
What is the back-up shot list?
What is the relocation plan?
Who documents incidents?
Who decides whether to continue, pause, or wrap?
This is not pessimism. It is production discipline.
If an official arrives, one person should handle the conversation. Multiple crew members trying to explain the situation can create confusion. The named contact should stay calm, show the permission documents, confirm the planned activity, and listen to the concern.
If the production has breached its own permit conditions, fix the breach quickly. Move the stand, reduce noise, clear the access route, stop the action, or pause until the issue is resolved. Defensiveness rarely helps. Compliance on site is part of the clearance process.
Step 7. Close the loop after the production
The clearance process does not end when the final shot is captured. Public spaces have memory. Councils, land managers, businesses, residents, and police teams remember which productions were easy to work with and which created problems.
A clean exit affects future approvals.
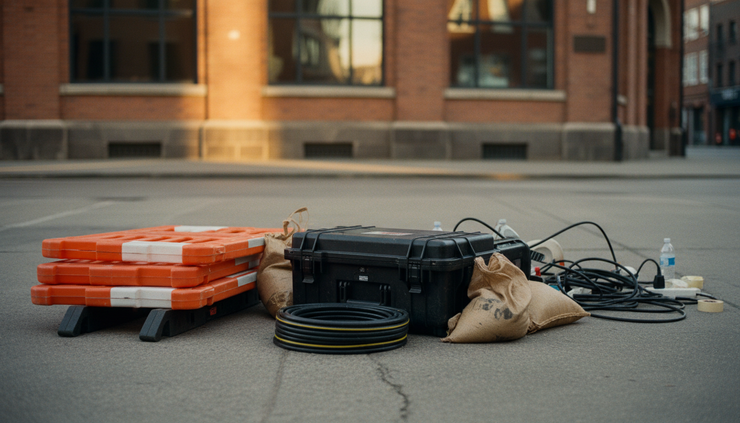
Before leaving, the team should restore the location, remove signs and tape, clear waste, check for damage, and confirm that public routes are open. If the permit required a wrap notification, send it. If there was an incident or complaint, record what happened and how it was handled.
For larger or repeat work, a short thank-you note to the location contact can help maintain trust. Keep it practical. Mention that the site was cleared, conditions were followed, and any issues were resolved. This creates a record of professionalism without turning the process into performance.
The post-production archive should include:
Final permit or approval letter
Submitted application documents
Insurance evidence
Location maps
Risk assessments
Public notices
Incident notes
Contact records
Lessons for next time
This archive becomes a template library. The next clearance will not start from zero.
What a good clearance process looks like
A strong public clearance workflow has a recognisable shape. It turns uncertainty into named responsibilities.
It starts with a precise account of the production’s footprint. It traces who controls the space. It gives authorities enough time and detail to assess the request. It supports the application with real documents. It prepares for public questions. It gives the crew a calm response plan if pressure appears on site.
That is the architecture of scale. Small productions can sometimes survive improvisation. Larger, louder, more visible productions need structure. The more public the operation becomes, the more the permit functions like load-bearing infrastructure.
Public Permits for High Visibility Productions are not just pieces of paper. They are agreements between creative ambition and civic responsibility.
For a real-time breakdown of this model, watch the full Beyond the Horizon episode on YouTube or listen on Spotify. The segment around 00:40:25 focuses on the failure point that can bring the whole process down.
The practical takeaway is simple: secure the permission before the public becomes the enforcement mechanism. A strong clearance process does not make a production less creative. It gives the creative work enough legal, operational, and social stability to survive contact with the real world.


Comments